Auto-responder Email Template Management
In your EOS website admin, you can customise any emails that are triggered to a user when they submit an online form or place an order on your website.
For example, when a user fills in the contact form on your website, they can receive an instant auto-email back to confirm receipt of their enquiry. You can also customise order email confirmations, website registration emails and notifications related to other features.
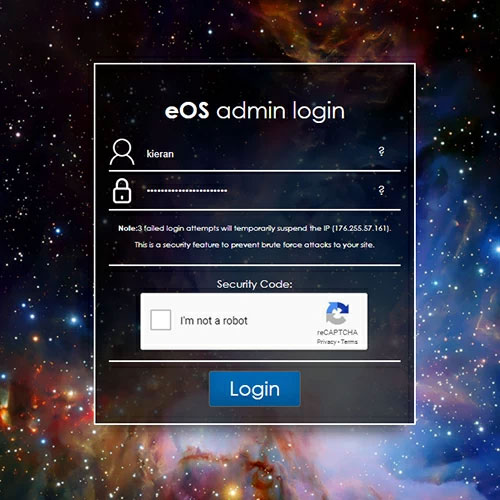
They will receive this email from your company email address, or from the address defined in your admin Email Settings. You can also have an alternate sender email for your order confirmations. You can find out more about your website email settings here.
In this section you will learn where to access and how to personalise these emails with user information and custom text.
Where to access email templates
There are 2 ways to access your email templates;
- You can view all email templates via the template manager
- Or you can go direct to the individual form for which you would like to update the email response
Edit your email templates via the template manager
You can find a complete list of all email templates via your email template manager.
- Go to Settings on the admin menu
- Under General Settings, you will see Email Templates
- Click this option, and you will be taken to a full list of your email templates which you can simply click to edit
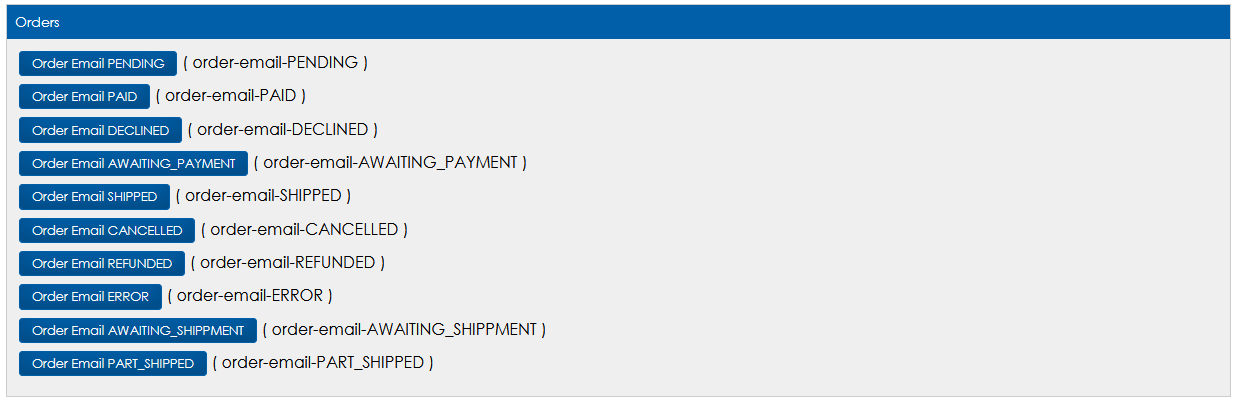
This is an example of the list you can expect to see, where each template is labelled with the form/action it is associated with.
Please note that if you are editing order confirmation or purchase process emails, this is the only area where you will find those templates.
Edit your email templates direct from the form?
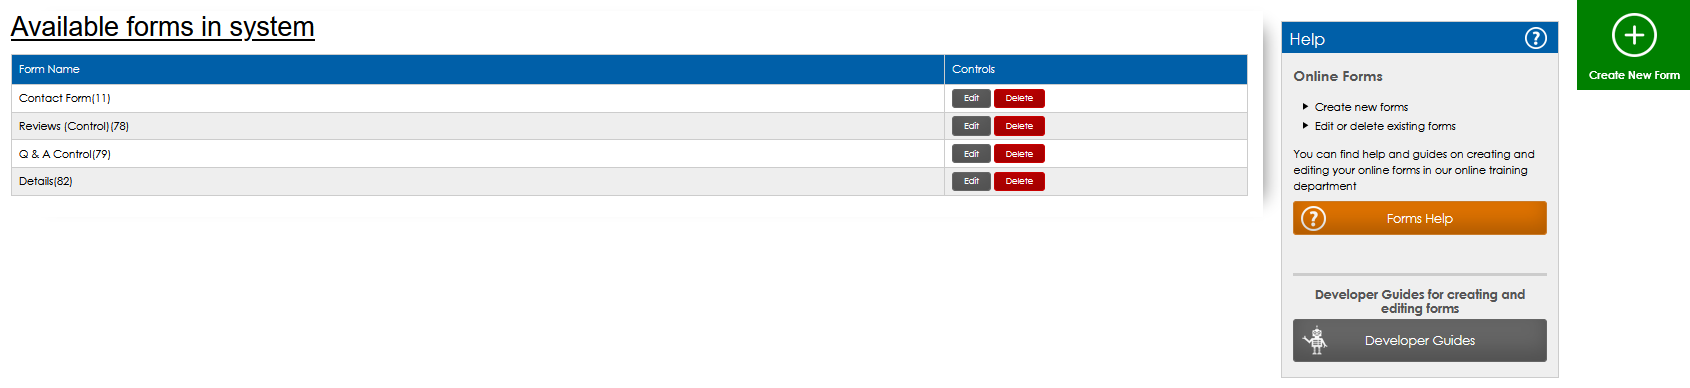
To access all of the forms available for your site, you can go to "Tools" on your main menu, then under "Advanced Tools" select "Forms".
Here you will see a list of all of the current forms available and the option to create new ones.
To edit the settings for a form;
- Click "edit" on the form you wish to update
- You will be taken to the Layout Manager for this form. This is a blueprint style layout of the form where you will see the vaious text fields and text entry components that are present on your form.
- Click the green "Config" button on the "Main Config" component
- This will open up the settings for how your form works

Let's take a look at what some of these settings do and the main settings you may want to update.
The submit action allows you to define what you would like to happen with the form data once submitted.
Submit Action Options
- None - if selected, no action will be taken on submission. This means you will not receive a notification and no data will be stored from the form. This option should not be used for standard forms.
- Email - you will receive an email notification when the form is submitted
- Data collection - no email will be sent to you, but the data will all be collected in your Form Data Reports for you to access and download
- Email and Data Collection - (recommended) - an email notification with the data will be sent to you and the data will be stored in your Form Data Reports.
Here, you can enter the email address you would like the form and notification to be sent through to. If selected in your Submit Action (above), you will receive an email notification with the form data attached/included in the email.
If you enter a redirect URL in this setting, when a user submits the form, they will be redirected to the defined page. An example of using this can be a “Thank you” page set up in your custom pages, any other page on your website, or any other website address. You simply enter the URL of the page you would like to direct to, for example /thank-you-for-your-enquiry
This is the template for the email that you, as the admin, will receive when the form is submitted. You can edit the contents of this email and what information is included from the form, in the email itself.
This is the template for the email that will be sent to the user (if enabled) once they submit their form. It is highly recommended customising and branding these emails for the best user experience. You can edit the contents of this email and what information is included from the form, in the email itself.
This setting, when ticked, activates the User Response Email to be triggered when the user submits their forms. This is highly recommended, to offer further confirmation to the user that their form has been submitted.
This setting attaches the form submitted as a PDF to the admin and response email, so there is a download copy of the form data that has been sent.
The submission message will display after the form has been submitted. If you have added a submission redirect (above) this message will be ignored as the user will be directed to the defined page upon submission. This submission message should only be used if you would like the user to remain on the same page after they have submitted their form. If this is the case, you should not enter a submission redirect. You should also tick "Submit via AJAX".
Editing the email template
Now you are familiar with where to find your email templates, let's take a look at the options available for editing them. When you click on any of your email templates to edit them, you will get a pop-up screen allowing you to customise and format the email which will be sent to the user.
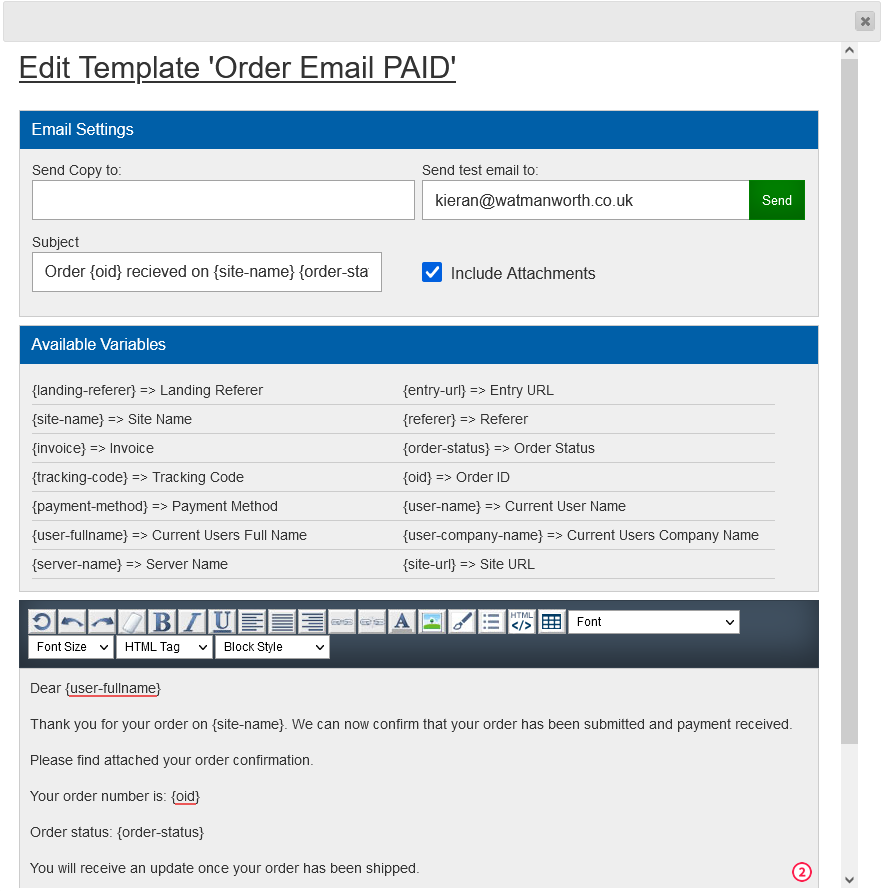
You will notice in the top settings you have the ability to;
- Send Copy to - if you complete this field, the destination email address will receive a copy of every instance of this form submitted. Please note, this should only be used if you require a secondary email address to receive a copy. By default, the system will always send a copy to your company email address or the one defined in the form setup.
- Send test email to - this feature allows you to trigger a test of the email to the desired email address, so you can preview what your users will receive.
- Include Attachments - ticking this box will ensure a PDF attachment of the submitted form or invoice is included with the email that gets sent out.
- Subject - this is the email subject which the user will see in their inbox when they receive the email
Next you will see the Available Variables. This list of options is the available information you can use to personalise the text in the subject and body of the email.
For example, the variable {user-fullname}, when placed in the text of the email, will be replaced with the full name of the user who placed the order or submitted the form.
When writing your email templates, it is a great idea to personalise with relevant information for a better user experience. Each form will have its own set of available variables, depending on the fields the user fills in.
You can edit and format your text using the content editor, also allowing you to upload image and add links into your email.
Once you have written the text for your email, click update to save your changes.
Please note, when triggering a TEST email, the variables will not be replaced.
Tips for creating your email templates
- Links - you may want to include a link back to your website, an offer or social media, but don't include too many links in an email. The more links you have, the more likely the email is to be considered as spam and not make it through a spam filter.
- Images - remember, not all email clients automatically load images within an email. So don't include important text or information within an image.
- Personalisation - it creates a much better user experience to be greeted in an email by their name rather than “dear customer”, so be sure to make use of the available variables to offer a personal experience.
- Formatting - email clients are fussy! What looks great on your screen, may come out a mess on someone elses. Try to avoid adding complex formatting or layouts. Keep things clean, simple and easy to read. Use headings to break up text where needed, and try not to make things too long.