Website menus - creation and management

Simple, easy and efficient navigation is crucial to a positive user experience on your website
Providing your users with clear and simple ways to navigate your website is an important part of creating a successful user experience. It is essential to ensure that users can easily find important pages, categories and products when browsing.
The arrangement of your website menus is a key factor in achieving this. Your EOS content management system gives you the flexibility to customise all of your website menus; From your main navigation to your footer menus or sidebars, even your responsive menus, you control everything.
During the build of your website, your developer will have created and placed your menus within your website layout, as part of your design, so that they are available for you to edit as required moving forward.
Once you have created the pages, categories and products in your admin area, you can add the desired links to your menus to allow users to easily access the desired content.
Website Menus Hub
To edit your website menus, go to "Content" and select "Site Menus". From here you will be taking to the management screen where you will see a list of your available menus, with the option of creating a new one if required. To view the current links on a menubar simply click to open it and you will be shown the current setup.
Editing your website menus
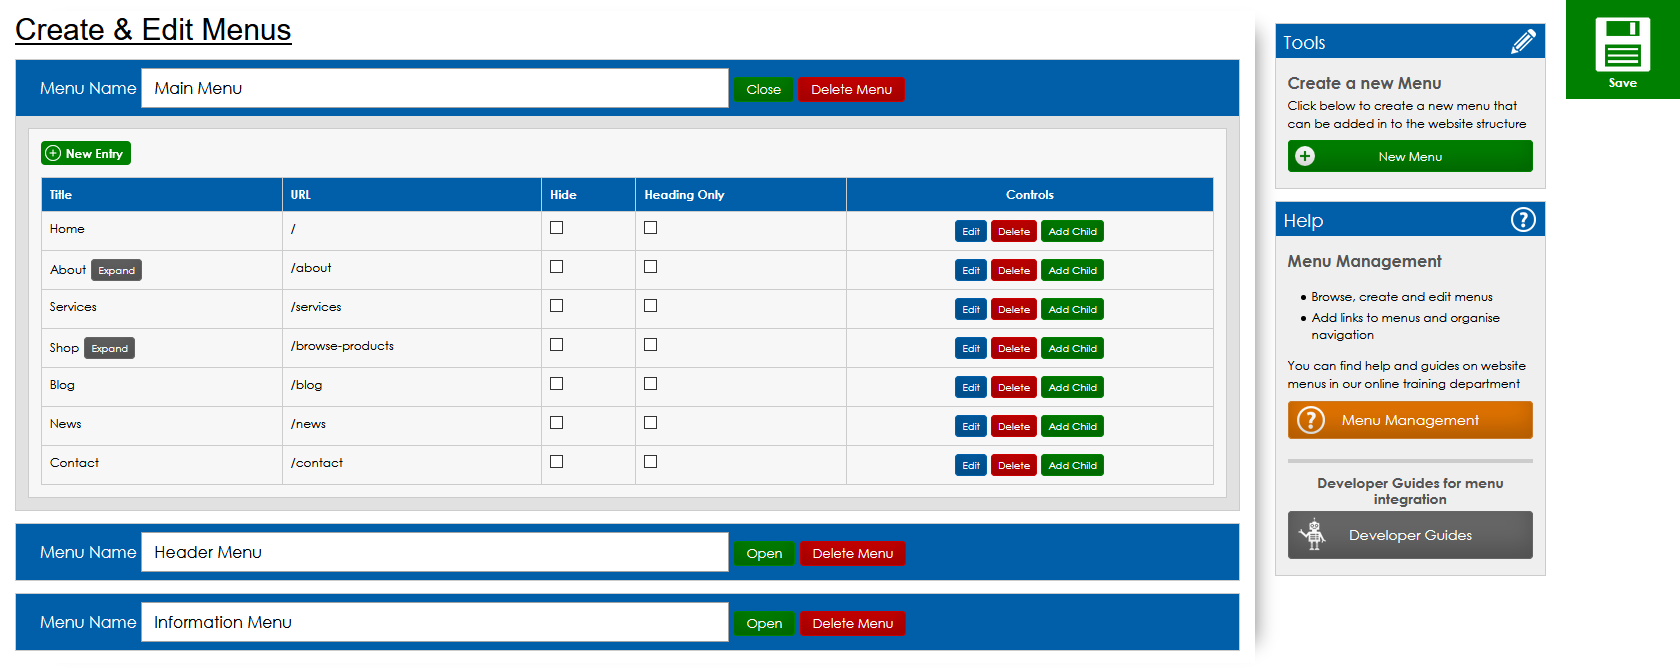
Let's look at an example of a main menu and how to edit the navigation. As you can see from the example, the main menu has links to the main areas of the website. It also has dropdown menus for some areas for quicker access for users to sub content areas.

To edit this menu from your menu hub, you would click to open the main menu where you will see the links that are currently available. Next to some tabs you will see an "expand" button. These are the tabs with dropdown menus which you can click expand to see.
You can tick to "hide" a tab from the menu, or to make it a "heading only" link which means it is text only and not a link. This feature is useful if you want the top level menu item to be text only and the dropdown menu links to be what the users click to navigate.
You can click to "edit" and "delete" menu tabs as well as add items to the dropdown menu for a tab.
Order of menu tabs
You can drag and drop the tabs on the menu to reorder them if you would like to re-arrange their display order on the website. Simply click and drag them into the desired order and click save.
Add a new link to your menu
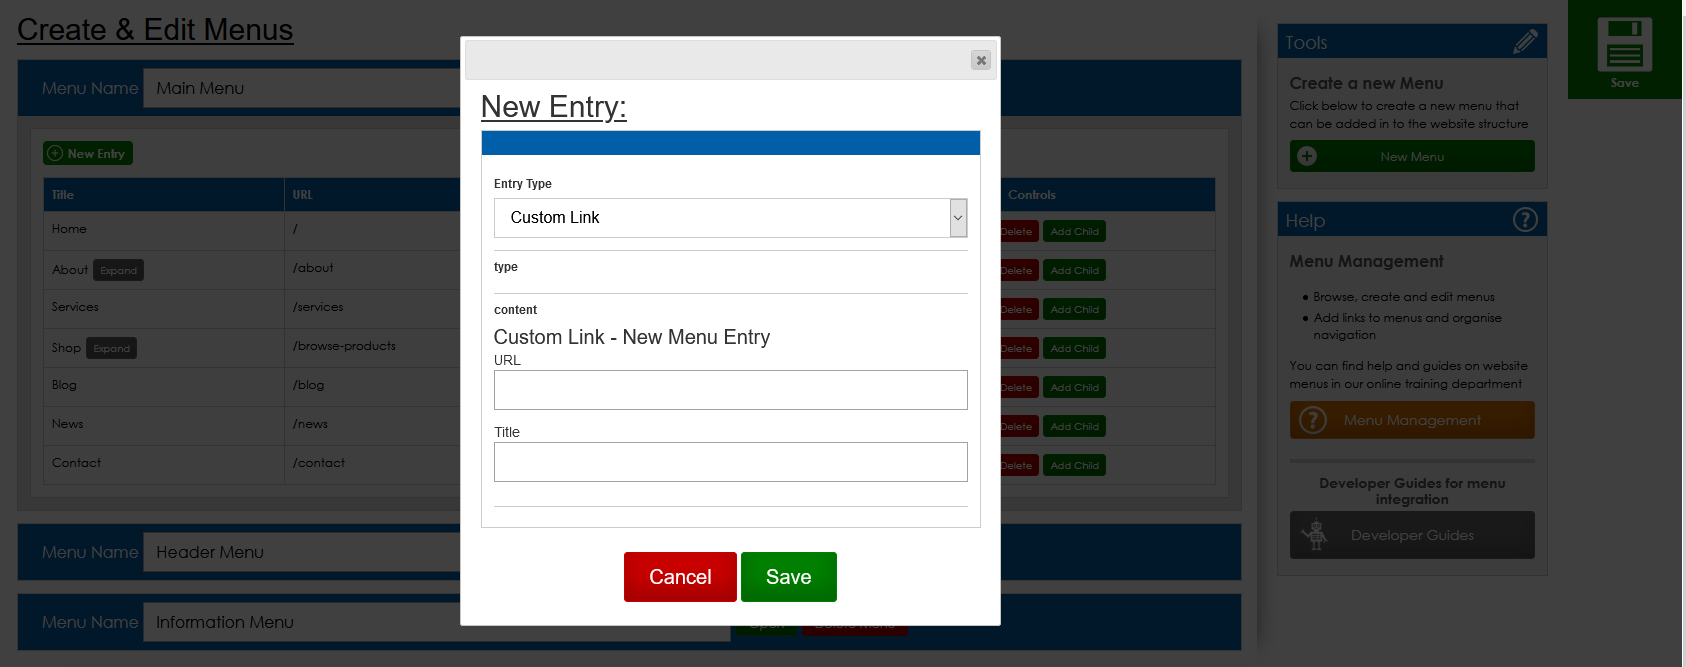
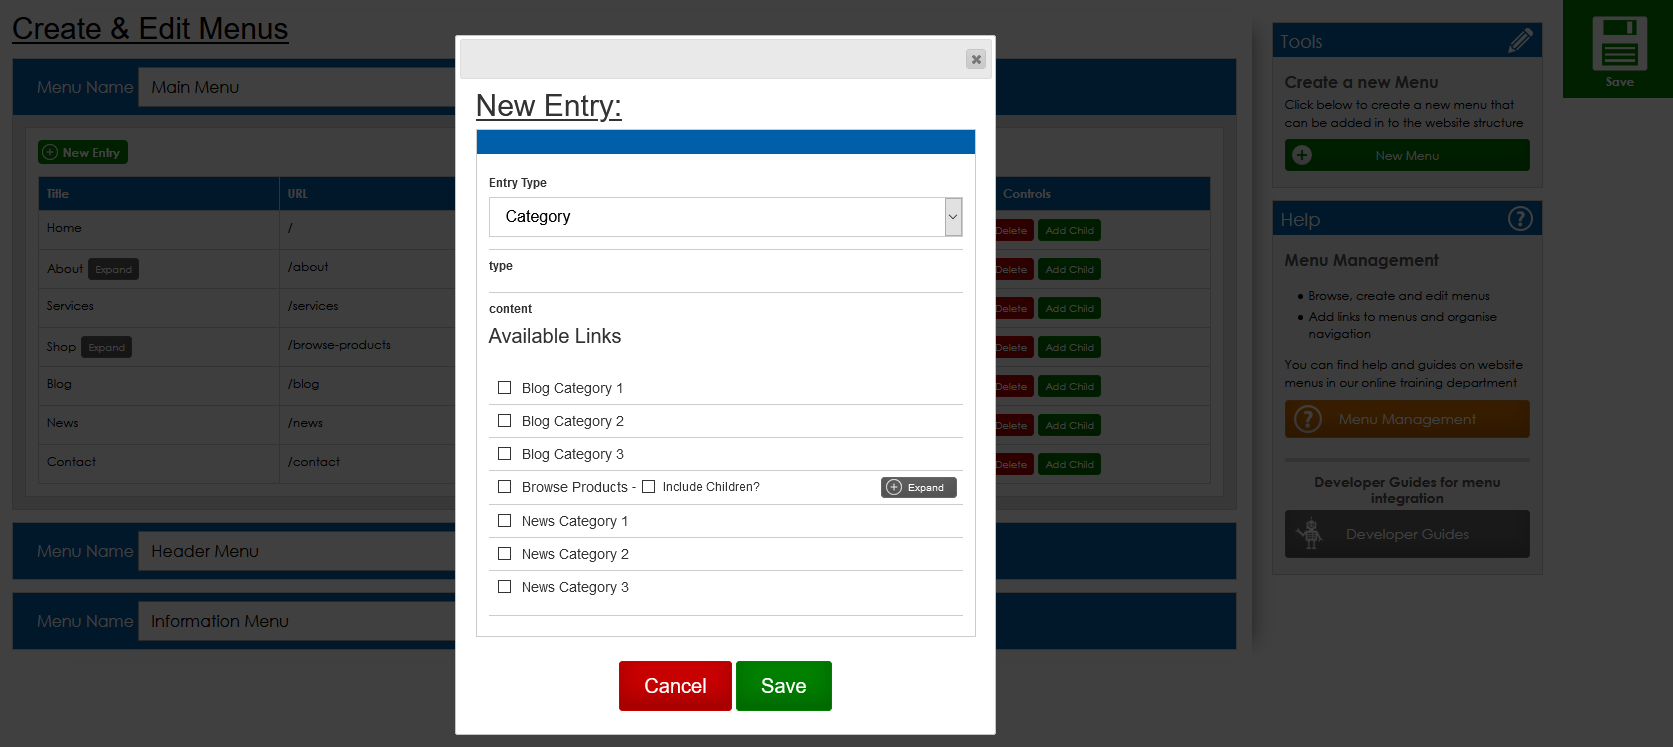
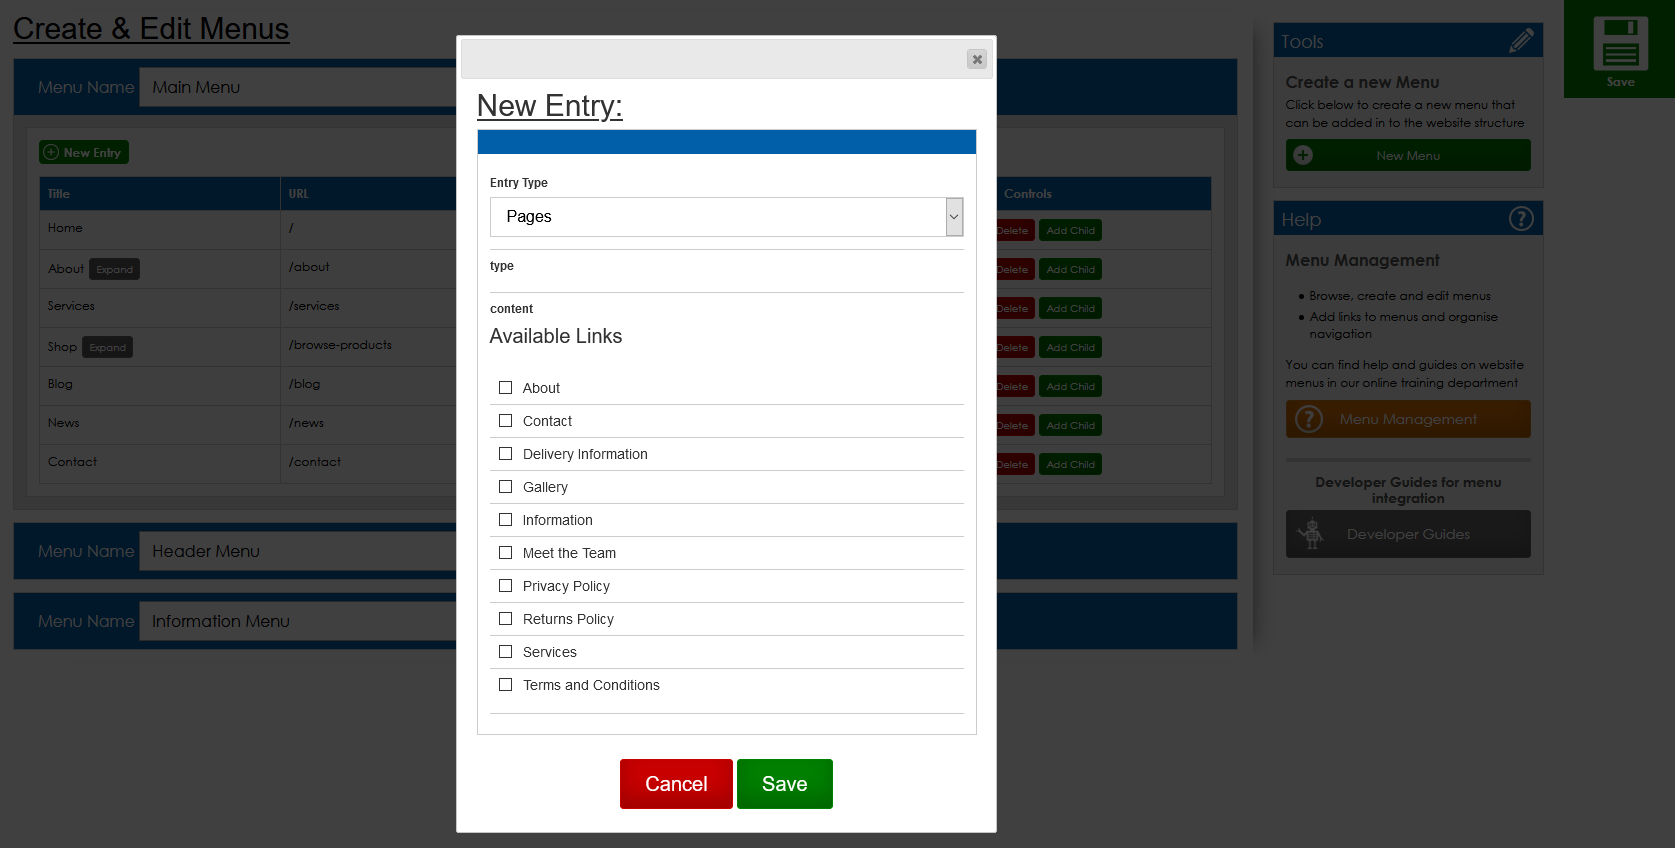
To add a new link to your menu, simply click the "New Entry" button above the list. You will then see a pop up menu asking you what type of link you would like to add. This can be a category, a page or a custom link allowing you to define and URL to link to.
- Add a Custom Link - Any URL of your choice. Simply add the desired destination URL and the title for the link.
- Category - This will give you a dropdown of all of the categories on in your website admin that you can tick to add. You can also choose to include all of the child categories into a dropdown menu of the main category if they exist.
- Page - This will give you a dropdown of all of the custom pages in your admin allowing you to choose which to tick to add to the menu.
Edit an existing link on your menu
When you click to edit one of the links on your menu you will get a pop up menu with a series of options for you to edit.
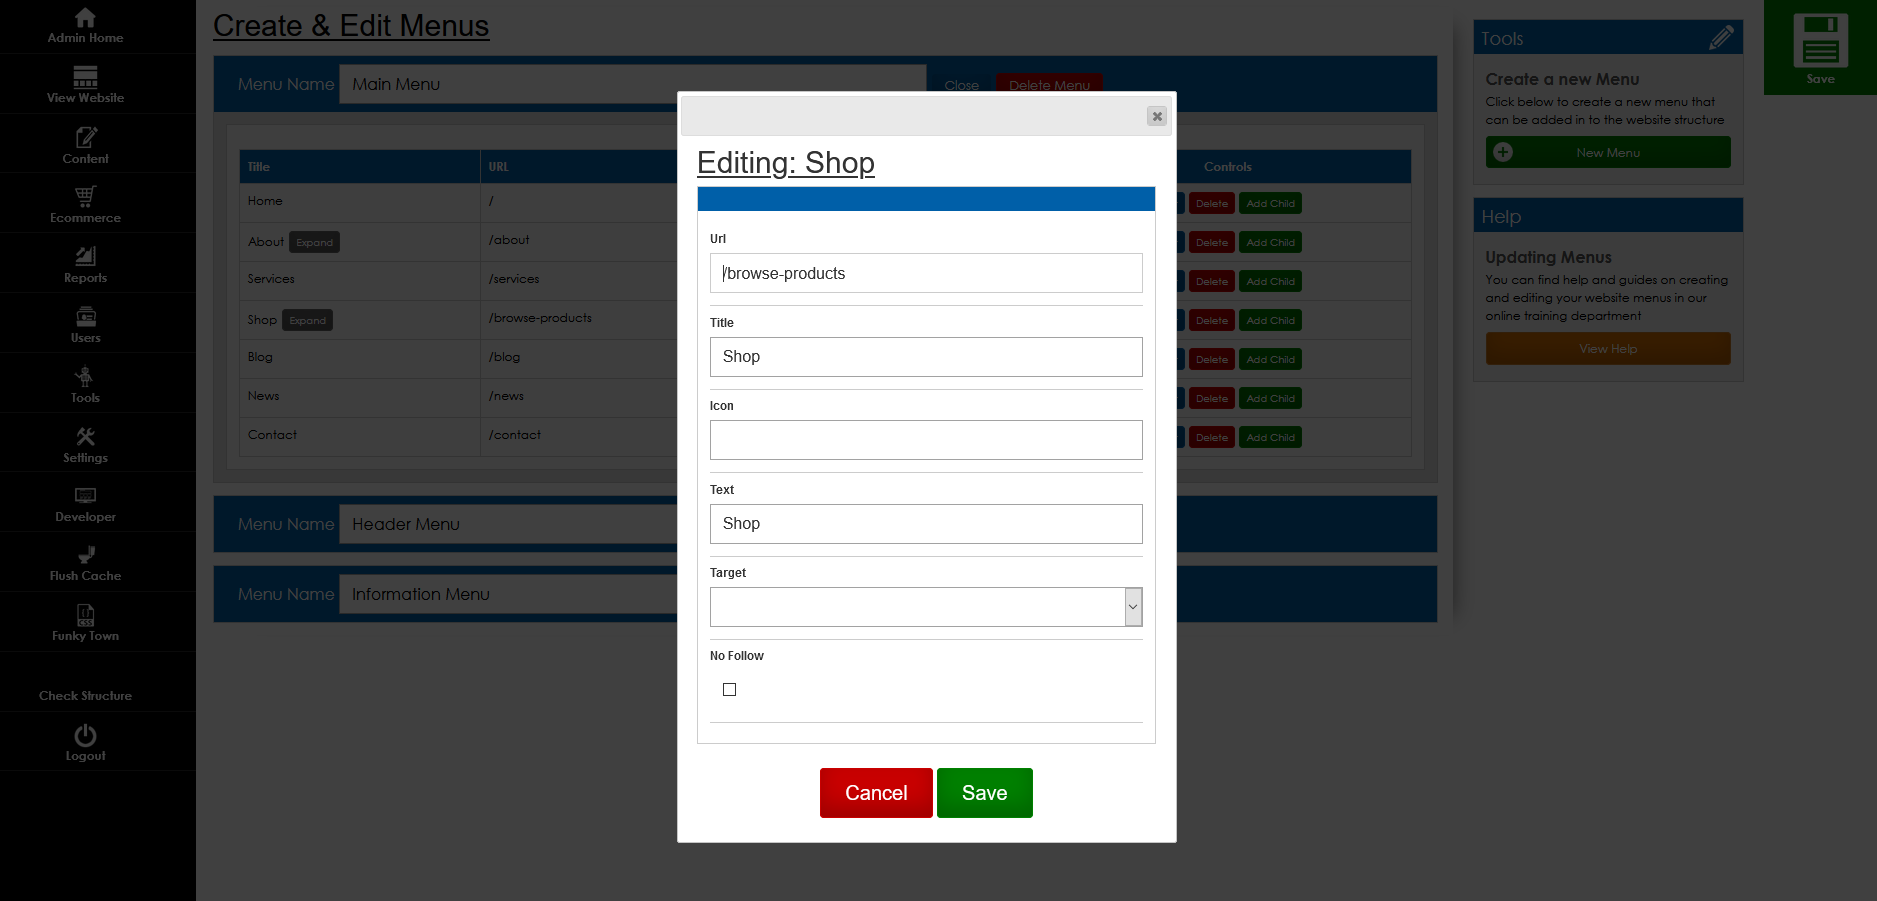
These options include;
- URL - This is the URL the link is going to. You can change this if required
- Title - This is the title of the link that will be displayed on your menu.
- ALT Text - This is the ALT Text of your link that will be displayed on hover of the tab.
- Icon - Gives you the ability to upload an icon to accompany the link text for your menu tab - this will only show if it is part of your design.
- Target - Select whether clicking the link will open the destination page in the same tab (self) or in a new tab (blank).
- No Follow - if this is ticked, the no follow attribute will be added.
Add to the dropdown menu of an existing link
To add a link into the dropdown menu of a tab, simply click the "Add Child" button. You will then be met with the same set of options to choose from, allowing you to select the type of link you would like to add.

Launch your Web Rocket
Take advantage of our FREE Digital Marketing guide.Web Rocket covers every aspect of your Digital Marketing, from preparing your business and branding, to building your website, implementing SEO, and planning your content and social media strategy. We also look at Search Engine Marketing, website analytics, email marketing and much more. Track your progress with your very own Web Rocket Action List, download free templates and resources.