Product Options

Give your customers the choices they need
Your product options feature gives you the flexibility to give your customers choices within a single product to specify the variation of the item they would like to buy. For example, an item of clothing may be available in large, medium or small sizes, or perhaps in a variety of colours.
Your product options allow you to define the available options for that product and present these options to your customers as a dropdown select menu, a tick box for sinlg or multiple selection or radio buttons for a single select option. We'll take a look here at creating a new option and the disfferent ways we can present this to the customer. You can also create option permutations for when the price of the item changes dependant on 2 interdependant options. You can save templates of options for ease of use across products and create option dependancies.
You can access your product options by going to the product you would like to edit, then on the "Additional" menu select "Options"
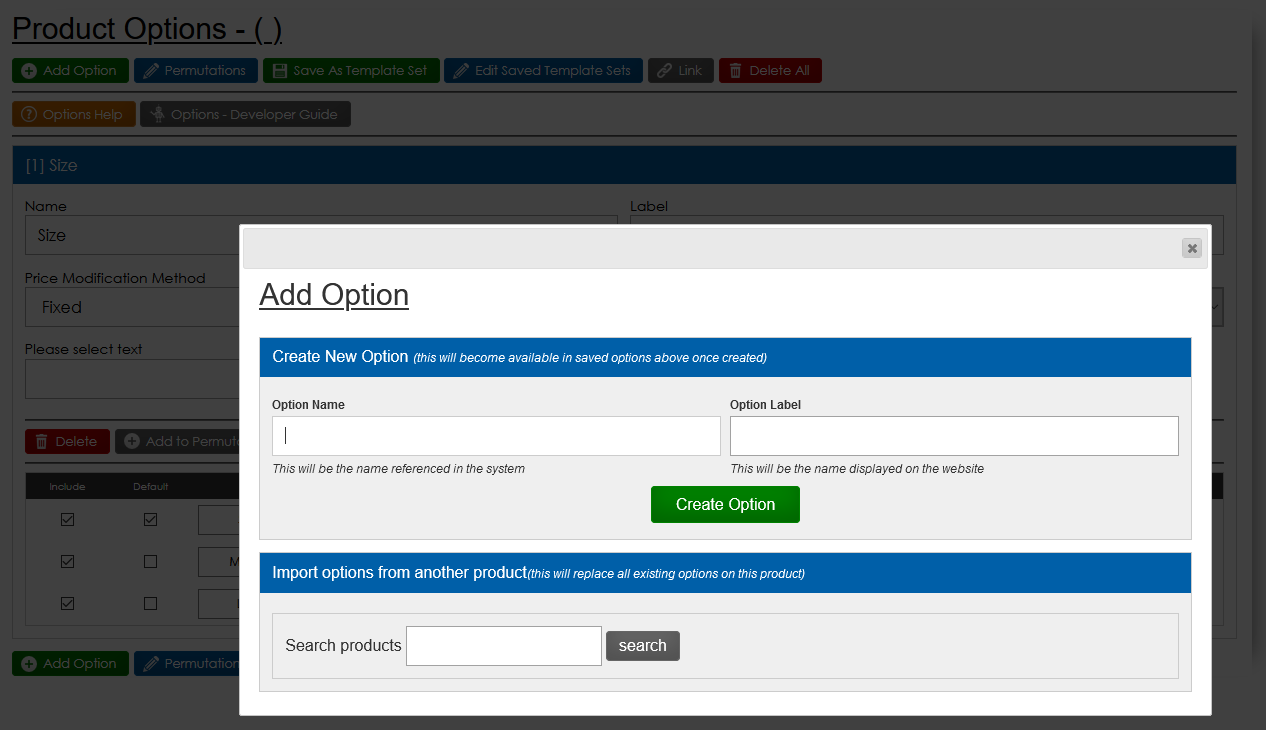
Creating a new option
To create a new option simply click the "Add Option" button and you will get a pop up window where you can enter the title and label for your option. The title/name of the option is the internal system reference and the label is the rext that is displayed to your users. The title/label for the option should clearly indicate the purpose of the selection and the nature of what the customer can select. For example, size or colour are prime examples of a product option.
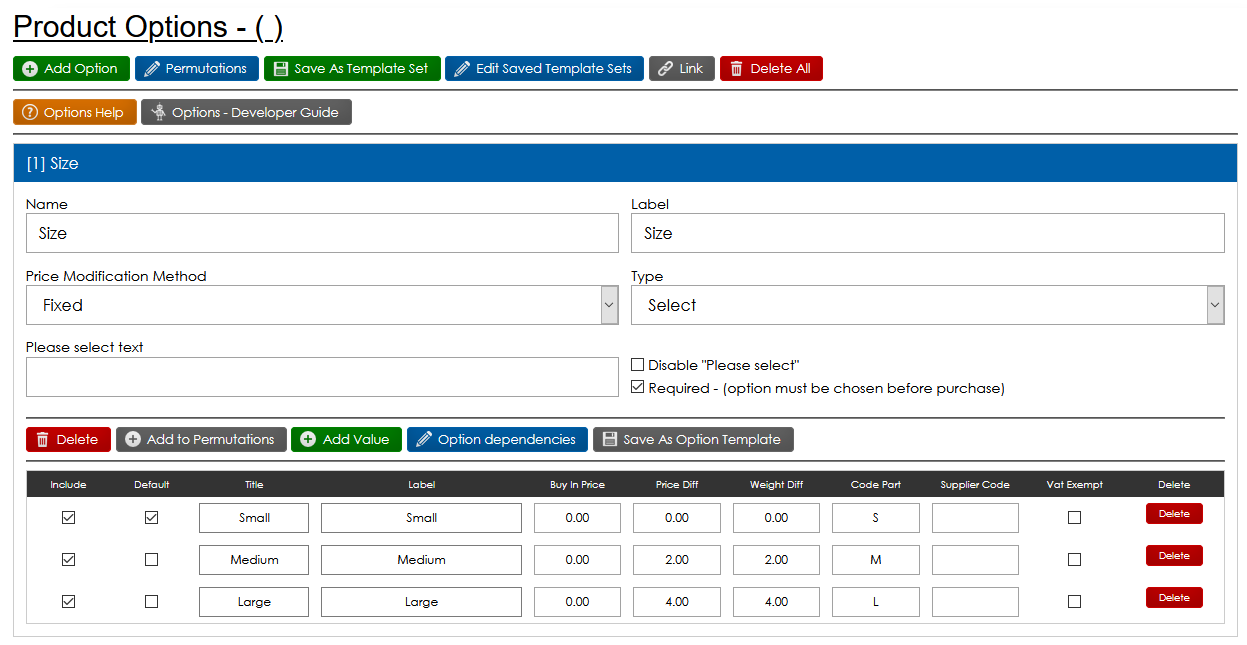
Once you have created the option itself, you can update the settings for the option to define how it will work.
This details whether the price change for options is fixed value or percentage based. For example, the "large" option of a product may cost more than the "small" option. The most common use of this feature is Fixed Value as it allows you to define the exact value that the option will differ from the base price of the product
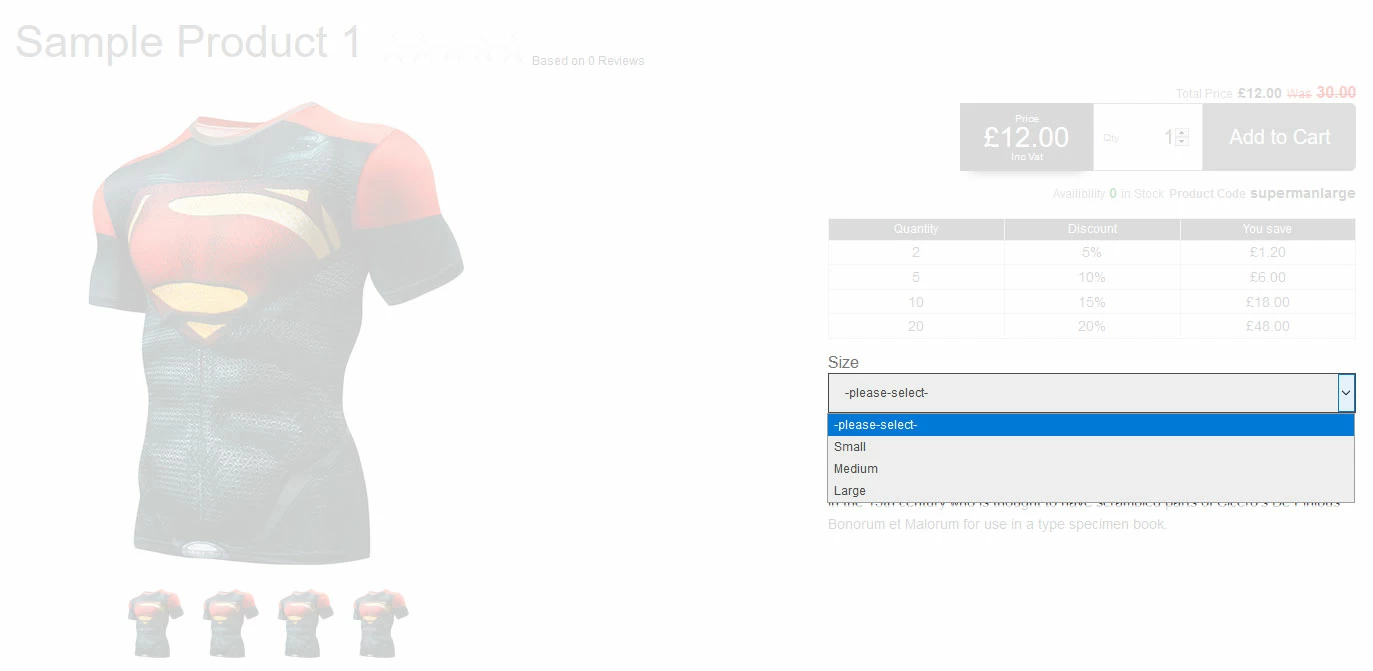
This allows you to choose how you would like to display the option selection.
- Select Menu - Displays option in a drop down menu and allows for single choice selection

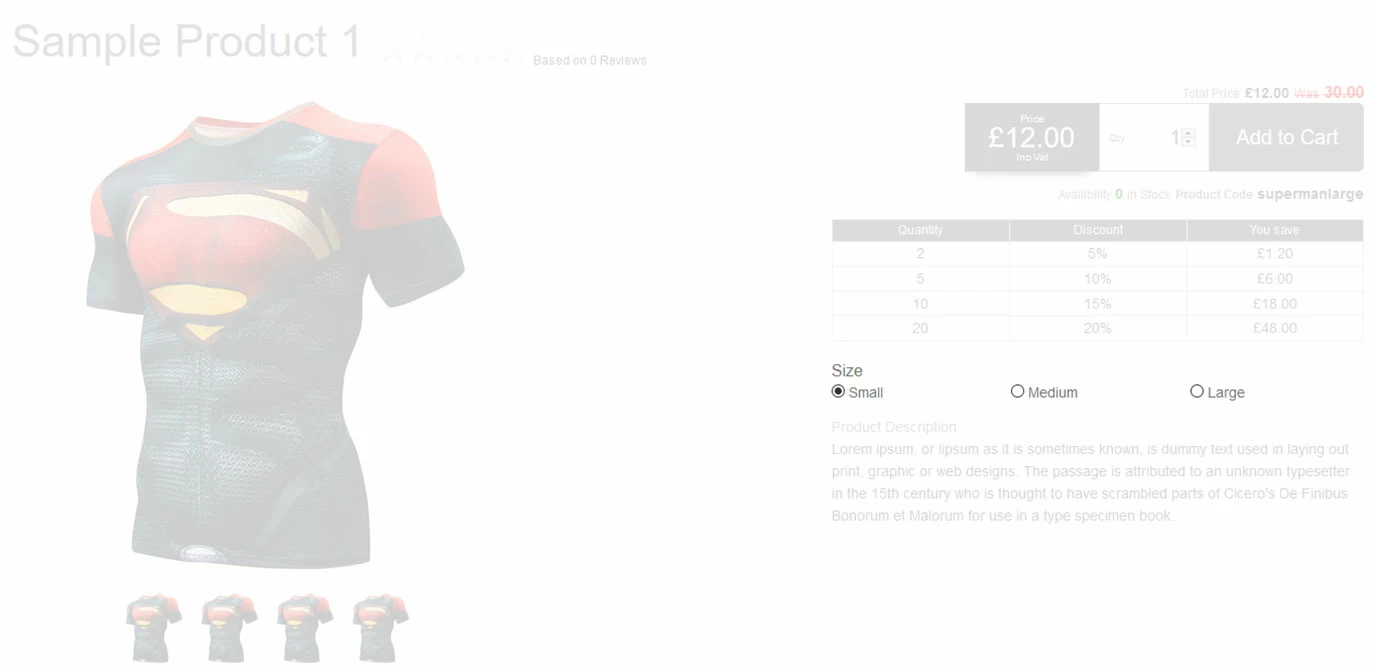
- Radio Button - Displays all options on page and allows for single choice selection
- Tick Box - Displays all option on page allowing users to tick multiple options to include in their purchase. An example of this might be to add gift wrapping.
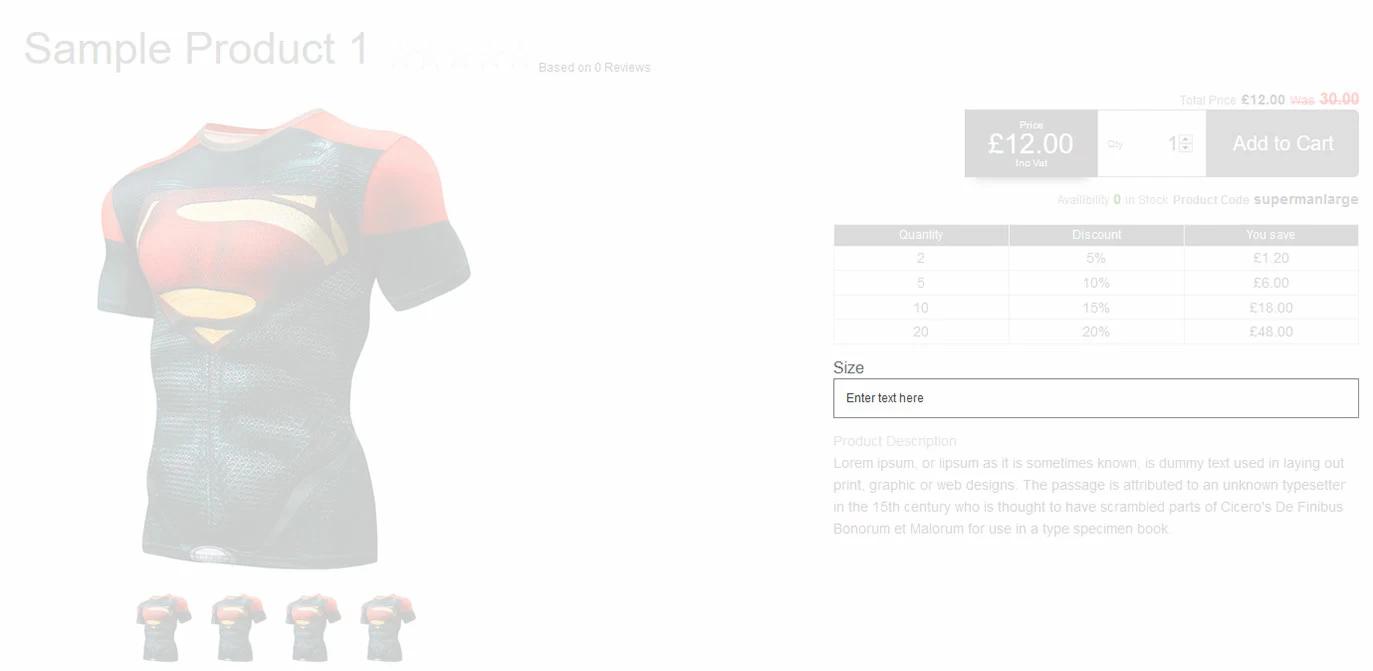
- Text Field - Allows the user to enter a single line of text to accompany their purchase.
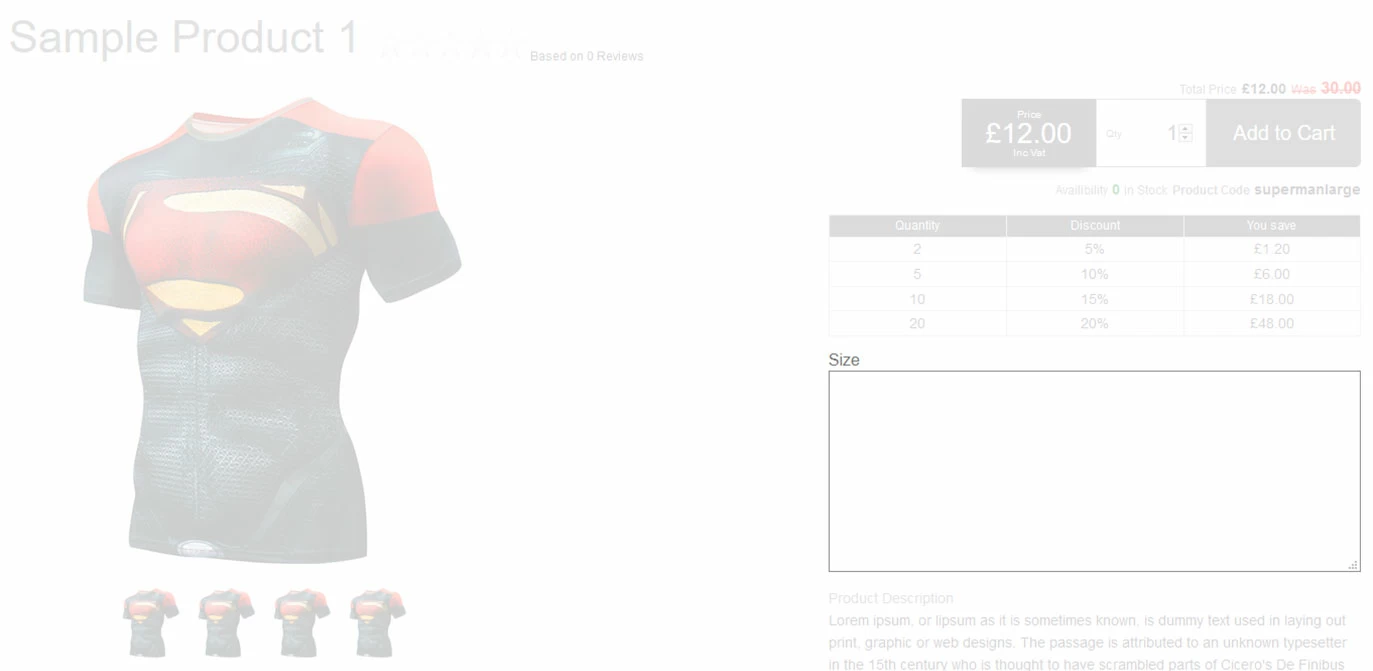
- Text Area - Allows the user to enter a blurb of text to accompany their purchase.
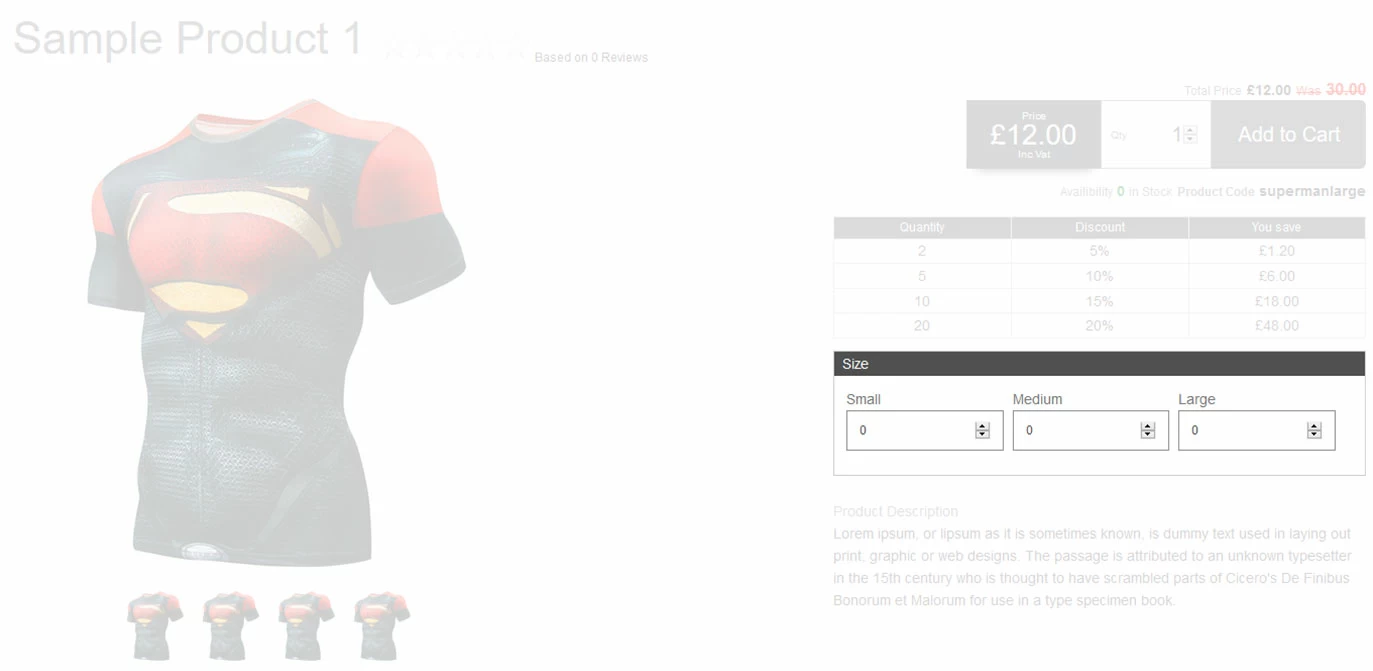
- Quanity Grid - Allows the user to define the quantity of each of the individual options they would like to purchase, for example, 3 small, 1 medium, 2 large. Great for quick and easy bulk purchases.
This is the text that will be displayed on the option asking users to select from the available options.
Ticking this box will remove the instructional text from the option.
Ticking this box will make the option a required choice, meaning that the user MUST select an option prior to purchasing.
The availble selection options are;

Defining the available values
You will then need to define the possible values that a customer can choose from. For example, if you are creating a "Size" option, you may add small, medium and large as the available values.
To do this simply click the "Add Value" button to create as many entries as required, then click teh save button.
Once you have done this you will then complete the information, including the titles, labels and so on.
The information you will need to complete for each value is;
- Include - Ticking this will ensure that the option value is available on the website. If unticked it will not be included in the available options.
- Default - Ticking this box will mean that this value is the preselected option for the product. The user can still change and select other options, but when the page loads, this will be preselected.
- Title - This is the title of the value for reference on your internal system.
- Label - This is the label of the value that will be displayed to users on the website.
- Buy In Price - This is the cost of this product variation to Buy In. Internal reference only.
- Price Diff - This is the difference in price from your product base price that will update on the website if the user selects this option. If your base price is £10.00, entering 2 into the price diff will increase the price of the product to the user by £2.00 if they select this option. Entering -2 will reduce the cost by £2.00
- Weight Diff - This works in conjunction with your delivery management. Entering the weight difference from the base product weight will indicate the total cart weight to the system so that it can accurately calculate the shipping cost.
- Code Part - This is an extention to the base product code, allowing you to identify which option has been selected.
- Supplier Code - For internal reference this is the code for the product option if there is a supplier reference.
- VAT Exempt - This allows you to tick to make this option of a product exempt from VAT.

Launch your Web Rocket
Take advantage of our FREE Digital Marketing guide.Web Rocket covers every aspect of your Digital Marketing, from preparing your business and branding, to building your website, implementing SEO, and planning your content and social media strategy. We also look at Search Engine Marketing, website analytics, email marketing and much more. Track your progress with your very own Web Rocket Action List, download free templates and resources.